Some of our computer fleet is still on an older version of Window's operating system and need to be updated to Windows 11. Windows 10 has been End of Life and we have been working on making the transition to Windows 11 as easy as possible. Before attempting any of these make sure that your laptop is plugged in and that you have time to run the update as it can be rather lengthy (30-45 minutes or more).
Windows Settings -> Update
As of Aug 2026, nothing is restricting from PALCS computers from updating to Windows 11 (we had previously deferred the update). All you will need to do is open up Windows Settings and navigate to the Windows Update Screen. (You may need to click "Check for updates" for the offer to appear.)
After clicking Download, it may offer you a terms and conditions screen, click on "Accept and Install."
Then it will start downloading and installing.
If the option to Update does not show up, you may want to restart your computer and make sure that you are signing in with the same UN / PW combination that you use for the lobby. It may take some time for the update to fully download. If you run into a download error, it might be because you hard drive does not have enough space to download the update. Follow this guide to help make space for the update: Cleaning up Computer Storage
If you have plenty of room in your storage (10-15GBs to be safe), you might still be getting an error like this.
One thing you can try to do is open up the Software Catalog, inside of the Utilities and then Tools is an icon for "Windows Update Repair." Double click on this icon and it will initiate some fixes that might help the install go through.
It will begin running some fixes.
After these additional windows disappear, we recommend giving your computer a restart and then attempting again.
Once it has completed downloading and installing, it will say "Pending Restart." Click on the Restart now" to continue the update process.
The rest of the Windows 11 update will now install; the computer will be unusable until it completes. Please make sure it stays powered on and plugged in.
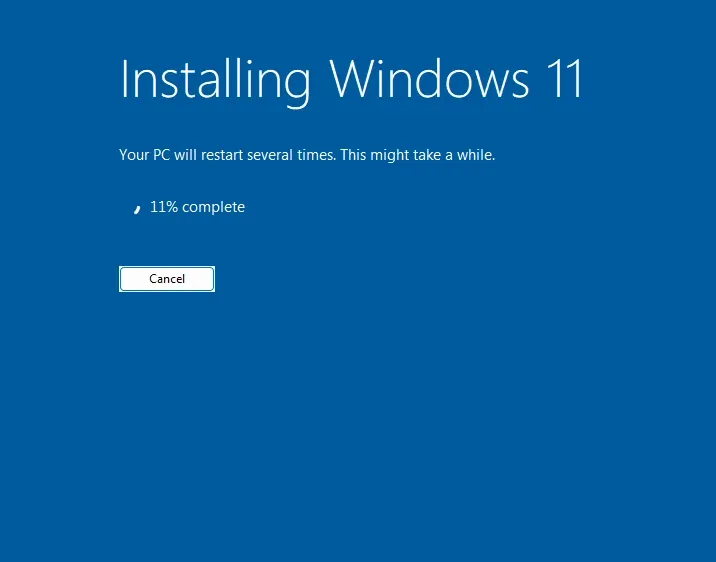
It may go through a variety of screens and the screen will go black a couple of times.
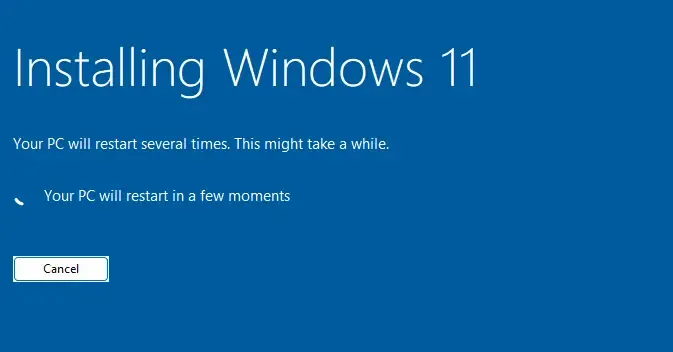
Once the update finishes, it will leave you on the new Windows 11 login screen.
Click anywhere and then enter the username and password that you use to sign into the PALCS lobby.
It may take a few minutes to "get things ready."
Once it finishes, it will let you into the desktop. Click "Yes" if this screen pops up.
It will look different, but the following instructions will help making it more familiar and useful.
Recommended changes after Windows 10 > 11 Update
Once the update goes through, some things will be different. Your computer will look a little bit different, and the following instructions will help make it more similar to the Windows 10 experience. Most notably, the start menu in Windows 11 by default is in the center and everything looks a little bit different.
It may have "installed" some additional default programs and removed any previous personalization you might have done to the laptop, resetting it to a blank background.
The first thing we'd recommend doing is opening up the Windows setting by clicking on the Start menu and clicking the gear icon. (Remember the start menu will have changed from the bottom right corner to the center.)
The settings menu in Windows 11 looks a little bit different. The main options are on the left and will open up the sub menus. Click on Personalization. Click on the "Taskbar" option inside of Personalization.
To make more room on the taskbar, we recommend changing the search option from "Search box" to either "Hide" or "Search icon only." That will make sure you have the most room. We also recommend turning off "Widgets" as those can be very distracting.
Then scroll down and change the "Taskbar behaviors" from "Center" to "Left" to change that back to how Windows 10 looked.
This is not necessary but it can definitely be helpful if you have gotten used to the Start menu being at the bottom left. Next, go back to the main Personalization menu and select the "Start" option.
Scroll down and click on the option for "Folders."
This will add very useful shortcuts in the Start menu, we recommend turning on at LEAST Settings, Documents, and Downloads, but you can add as many of these as you'd like.
Once these have pin turned on, they will show up as easy shortcut icons in the start menu.
We can then focus on adjusting what is pinned on the start menu and taskbar. When you do the Windows 11 upgrade from Windows 10, it resets the saved pins to their defaults. So, we'd recommend removing any extra icons added to the taskbar by right clicking the icon and selecting "Unpin from taskbar."
Search in the Start menu for Chrome and right click and select "Pin to Taskbar." Also, a good idea to pin it to the Start as well.
Next, we can clean up the extra icons/apps they automatically added to the Start menu. Right click and unneeded apps and select "Uninstall."
A confirmation prompt will appear, click Uninstall here as well.
Some apps may not be installed but still show up as available in the start menu. Click on "Unpin from Start" to remove them.
Then we'd recommend adding the Software Catalog and GoToAssist icons to your start menu. On the desktop, right click the icons and select "Pin to Start." You can also do this with any other desktop icons that you will be using regularly.
Once your start menu and taskbar is cleaned up, it will be a LOT easier to find the apps and tools that you actually want to use.
Finally, to add a personal touch, you can change the desktop icon. Navigate back to the "Personalization" screen.
Change it from the "Solid color" option to "Pictures."
Then click on the "Browse photos" option and locate the photo you want to use. (Here is a download link for the default PALCS background if you would like to use that.)
That will set your desktop picture.
Now that you are updated, start menu/taskbar is all cleaned up, and your desktop has been customized, you are ready to user your PALCS device on Windows 11!
Additional Changes to be aware of
There are some changes to the right click context menu. In Windows 11, it is "cleaned" up, which can sometimes hide the option you might be looking for.
You can click on the "Show more options" to show the old right click context menu.
Continued Issues? How to receive more support
If you are still having trouble updating to Windows 11, do not worry. There is no immediate rush to get it installed. Even though Windows 10 is End of Life, your computer is still safe and secure. We can assist further, but first you will need to download this file before opening up a ticket/reaching out to the Helpdesk for further support.
It is a VERY large file, 7.9GBs, and it will warn you that Google Drive cannot scan it. Click on Download anyway.
Once the file is downloaded, you can then reach out and let us know that you are having trouble. During school startup, we might prioritize other tickets due to this update not being needed urgently.